Microgreens pack big nutrition and are easy to grow at home quickly.
I’ve grown microgreens for years as a chef and home gardener. I know the science behind microgreens benefits and how to grow microgreens at home. This guide explains why microgreens matter, how to start on a windowsill, and how to avoid common mistakes. Read on for step-by-step, practical, and research-backed advice that you can use today.

What are microgreens and why they matter
Microgreens are young vegetable and herb seedlings. They are harvested after the first true leaves appear. They are not sprouts. They grow in soil or a growing medium and need light.
Microgreens are prized for texture, flavor, and nutrient density. Many studies show they can have higher vitamin and antioxidant levels than mature greens. That makes them a powerful food for small spaces. When you search for microgreens benefits and how to grow microgreens at home, you want clear steps and real results. This section gives both.
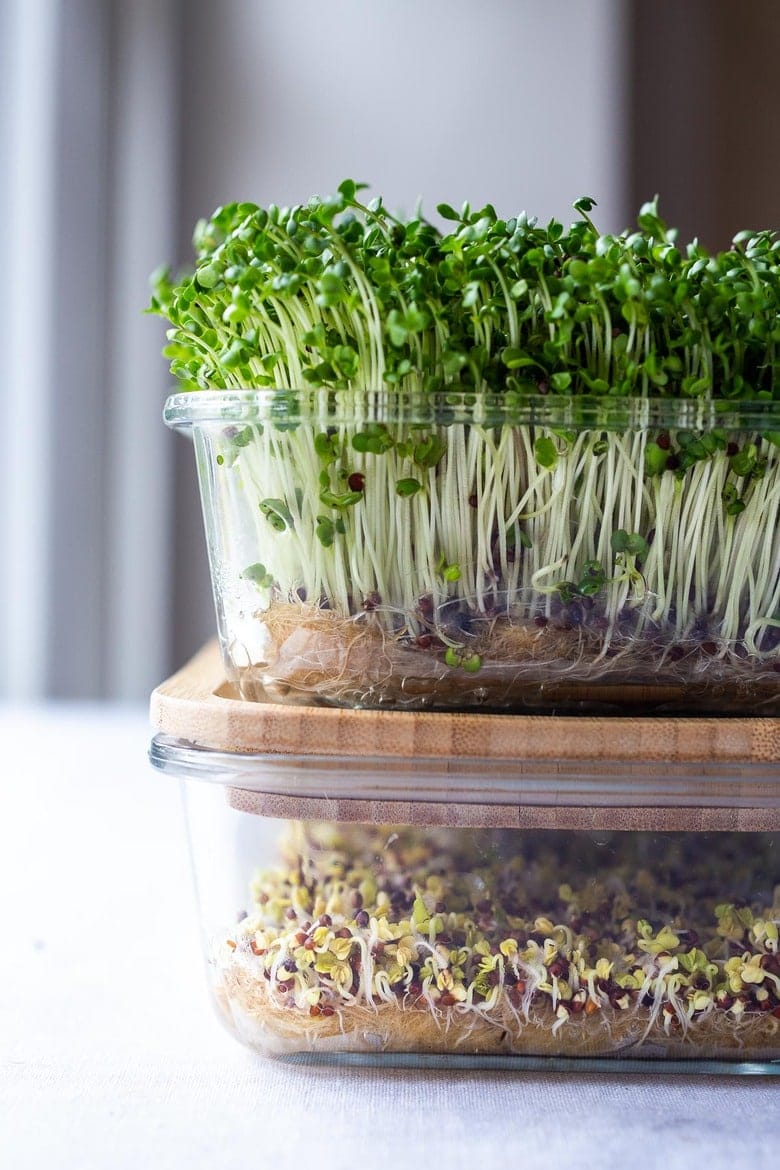
Key microgreens benefits
Microgreens benefits span nutrition, flavor, and convenience. Here are the main points.
- High nutrient density: Microgreens often contain more vitamins per gram than mature leaves. They are rich in vitamin C, vitamin K, and carotenoids.
- Strong flavor and color: They add a bright taste and visual appeal to dishes. A small amount goes a long way.
- Fast harvest cycle: Most varieties are ready in 7–21 days. That makes them ideal for quick food production.
- Space and resource efficient: You can grow many varieties on a sunny sill or under a small light.
- Year-round freshness: Indoor growing gives fresh greens any season.
- Culinary versatility: Use them in salads, sandwiches, smoothies, and garnishes.
From my experience, a single tray of radish microgreens gave more zing than a whole head of lettuce. That concentrated flavor is one of the core microgreens benefits and how to grow microgreens at home profitably for chefs and home cooks alike.

Basic supplies you need to start
You do not need a lot. Start simple and scale up.
- Seeds: Buy seeds labeled for microgreens or untreated vegetable seeds.
- Shallow trays: 10×20 inch or similar. Use trays with drainage.
- Growing medium: Potting mix, coconut coir, or seed-starting mix work well.
- Light source: South-facing window or LED grow light.
- Watering tool: Spray bottle or fine-mist mister.
- Scissors: Clean, sharp scissors for harvest.
These items cover the essentials for microgreens benefits and how to grow microgreens at home without fuss.
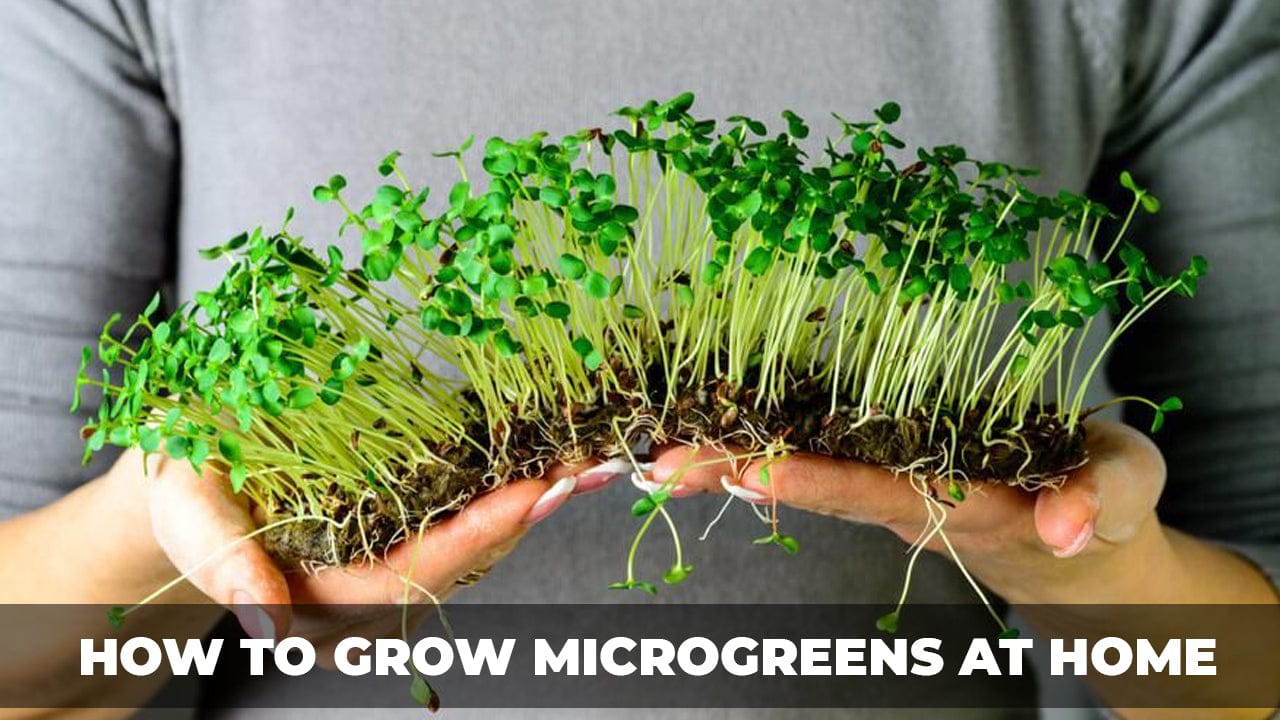
Step-by-step: how to grow microgreens at home
Follow this simple routine for reliable results.
- Prepare the tray
- Fill the tray with 1 inch of moistened growing medium. Smooth the surface.
- Sow seeds
- Scatter seeds evenly. For leafy varieties, sow densely. For larger seeds, give more space.
- Press seeds and cover
- Gently press seeds into the soil. Cover with a thin layer of soil or another tray to keep dark for 2–4 days if needed.
- Water and light
- Keep medium moist but not waterlogged. Move trays to bright light once sprouts show. Use 12–16 hours light daily with LED grow lights for best growth.
- Harvest
- Cut at soil level when true leaves appear. Most microgreens are ready in 7–21 days.
- Clean and reuse
- Wash trays and tools. Compost used medium or re-use after sterilizing.
This simple routine highlights the main microgreens benefits and how to grow microgreens at home with a step-by-step flow I’ve refined over many seasons.
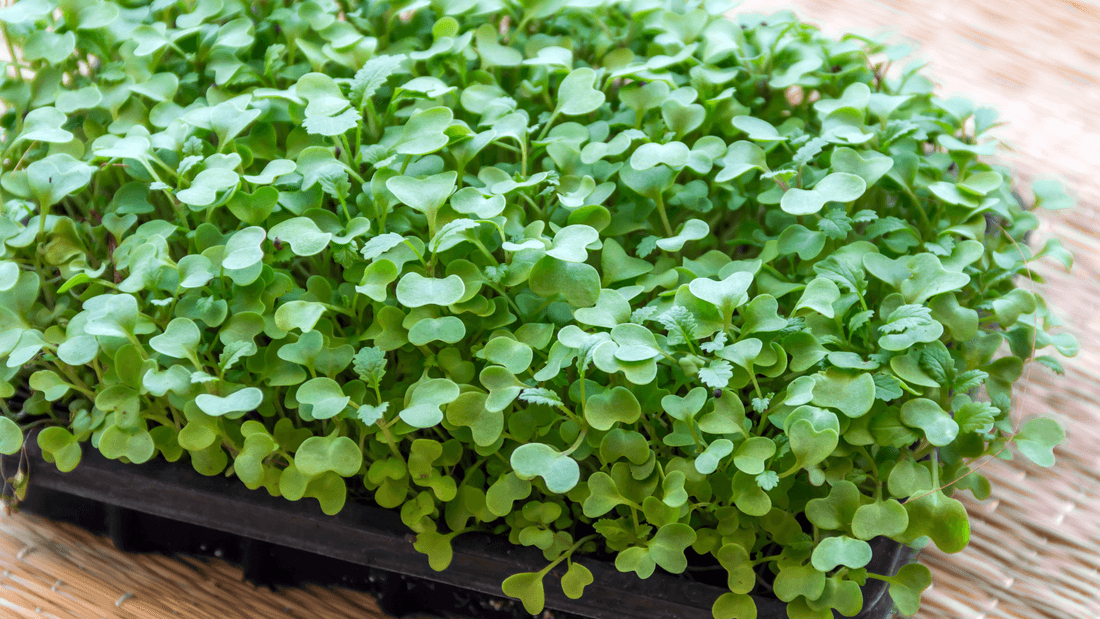
Best varieties for beginners
Some seeds are easier and faster to grow.
- Radish: Fast, spicy, and colorful.
- Sunflower: Crunchy, nutty flavor.
- Pea: Sweet and tender.
- Broccoli: Mild, nutrient-rich.
- Beet: Bright color and earthy taste.
- Basil and cilantro: Herbs for strong flavor.
Start with radish, sunflower, and broccoli. They are forgiving and give quick wins. That early success helps you learn the key microgreens benefits and how to grow microgreens at home confidently.

Light, water, and temperature tips
Good control of these factors makes the biggest difference.
- Light: 12–16 hours of bright light each day. LEDs work well near windowsill setups.
- Water: Mist daily or water from below. Avoid soggy soil.
- Temperature: 65–75°F (18–24°C) is ideal.
- Airflow: Good air reduces mold risk. Use a small fan if needed.
These small controls secure consistent crop quality and maximize microgreens benefits and how to grow microgreens at home with less waste.
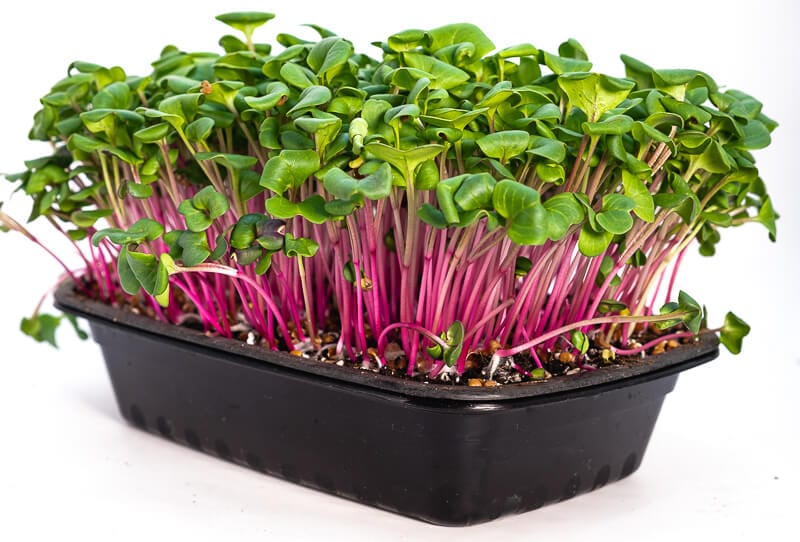
Common problems and how to fix them
Troubleshooting is key. Here are common issues and quick fixes.
- Mold or damping off: Use clean trays, reduce humidity, and increase airflow.
- Leggy growth: More light or move trays closer to the source.
- Slow germination: Check seed freshness and increase warmth slightly.
- Bitter taste: Harvest earlier for milder flavor.
I once had repeated mold in winter. The fix was simple: better airflow and less dense sowing. Small changes like that protect your harvest and the microgreens benefits and how to grow microgreens at home reliably.
Food safety and storage
Microgreens are fresh food. Handle them safely.
- Use clean tools and trays.
- Rinse gently before eating.
- Store in the fridge in a breathable container for up to 7 days.
- Discard if slimy, discolored, or off-smelling.
These steps preserve both flavor and safety, key parts of microgreens benefits and how to grow microgreens at home responsibly.

PAA-style quick questions
What are the fastest microgreens to grow?
- Radish and mustard are fastest, often ready in 7–10 days.
Can you grow microgreens without soil?
- Yes. Use hydroponic mats or coconut coir for soil-free growth.
Do microgreens need special seeds?
- Use untreated seeds or ones labeled for microgreens. Avoid treated seeds.
Are microgreens more nutritious than mature greens?
- Many studies show they can have higher concentrations of certain vitamins and antioxidants.
How much light do microgreens need?
- Around 12–16 hours of bright light per day for best growth.
Frequently Asked Questions of microgreens benefits and how to grow microgreens at home
What exactly are microgreens?
Microgreens are young seedlings harvested after the first true leaves appear. They grow in a soil or medium and are used for flavor and nutrition.
How long does it take to grow microgreens?
Most varieties are ready in 7–21 days. Timing depends on species and light levels.
Are microgreens safe to eat raw?
Yes, if grown and handled cleanly. Rinse gently and store chilled to reduce risk.
Can I reuse soil for microgreens?
You can reuse soil after removing roots and sterilizing, but fresh medium often gives better yields. Composting used medium is also a good option.
Do microgreens need fertilizer?
For short cycles, a nutrient-rich starting mix is enough. Use a mild liquid feed only if growth slows.
Conclusion
Microgreens deliver concentrated flavor, quick harvests, and real nutritional benefits. You can grow them on a windowsill with a few basic tools and simple steps. Start with easy seeds, keep light and moisture steady, and learn from small mistakes. Try one tray this week and taste the difference for yourself. Share your experience, subscribe for more guides, or leave a comment with your microgreens questions.
Check your Daily Calorie intake here.